Tata
Tata
 Toyota
 Hyundai
 Nissan
 Mahindra
 Maruti Suzuki
 Skoda
Skoda
 Honda
Honda
 Chevrolet (GM)
 Volkswagen
 Ford
Ford
 Kia
Kia
 Fiat
Fiat
 Citroen
 Force Motors
 Isuzu
Isuzu
 Jeep
Jeep
 MG
MG
 Renault
 Ashok Leyland
 UNIVERSAL
Please sign in to view saved cars.
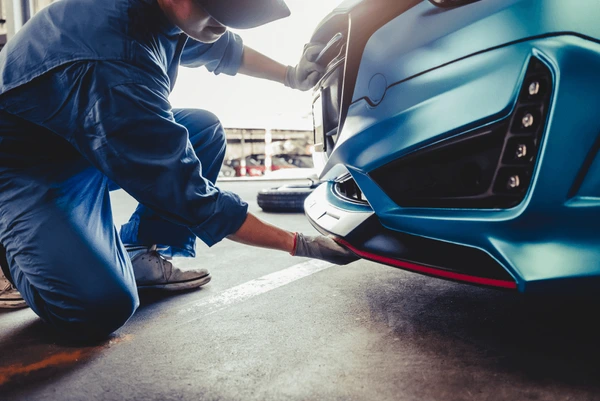
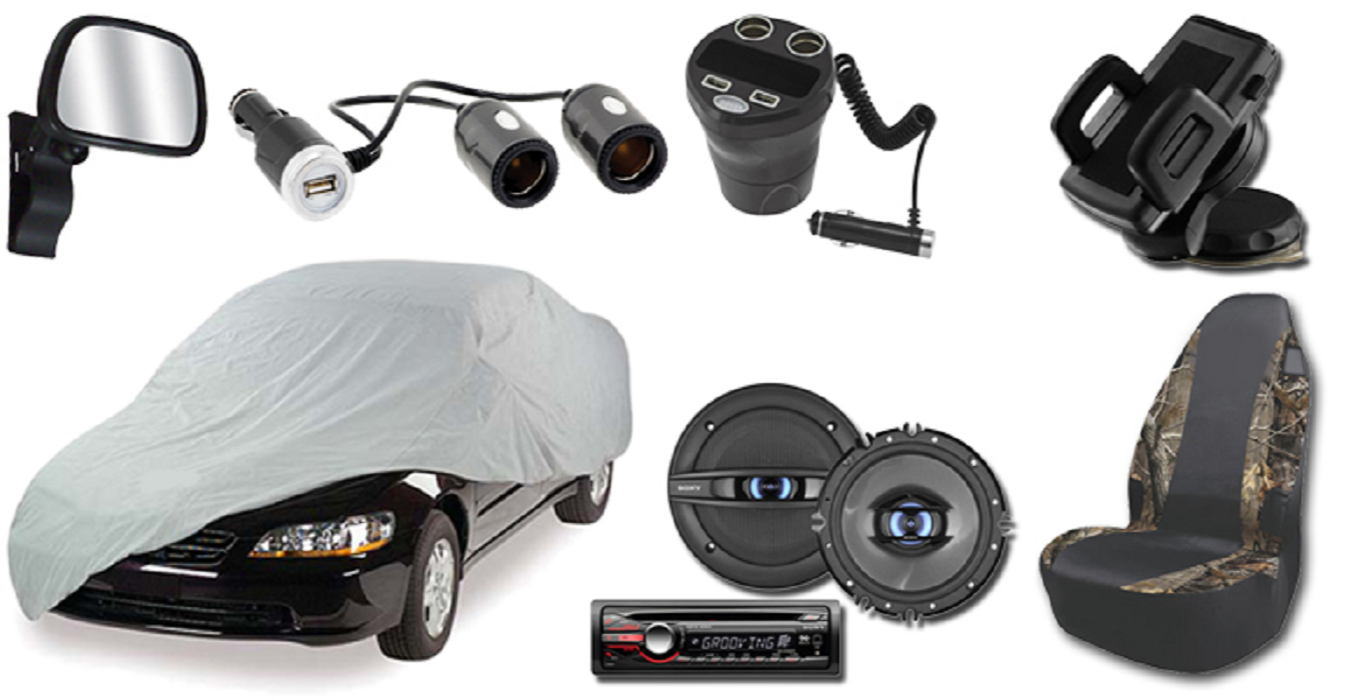
Installing car accessories yourself is a great way to save money and gain a sense of satisfaction from enhancing your vehicle. Whether you're upgrading your car with seat covers, installing floor mats, or adding a dash cam, DIY installations are possible with a little guidance. This step-by-step guide will walk you through how to install some of the most popular car accessories, providing simple instructions for a smooth, hassle-free experience.
Installing seat covers is one of the most popular DIY car accessory installations. Whether you want to protect your seats from wear or give your car a fresh look, seat covers are easy to install.
Step-by-Step Installation:
Tips: Make sure the seat covers are designed for your car’s specific make and model for a perfect fit.
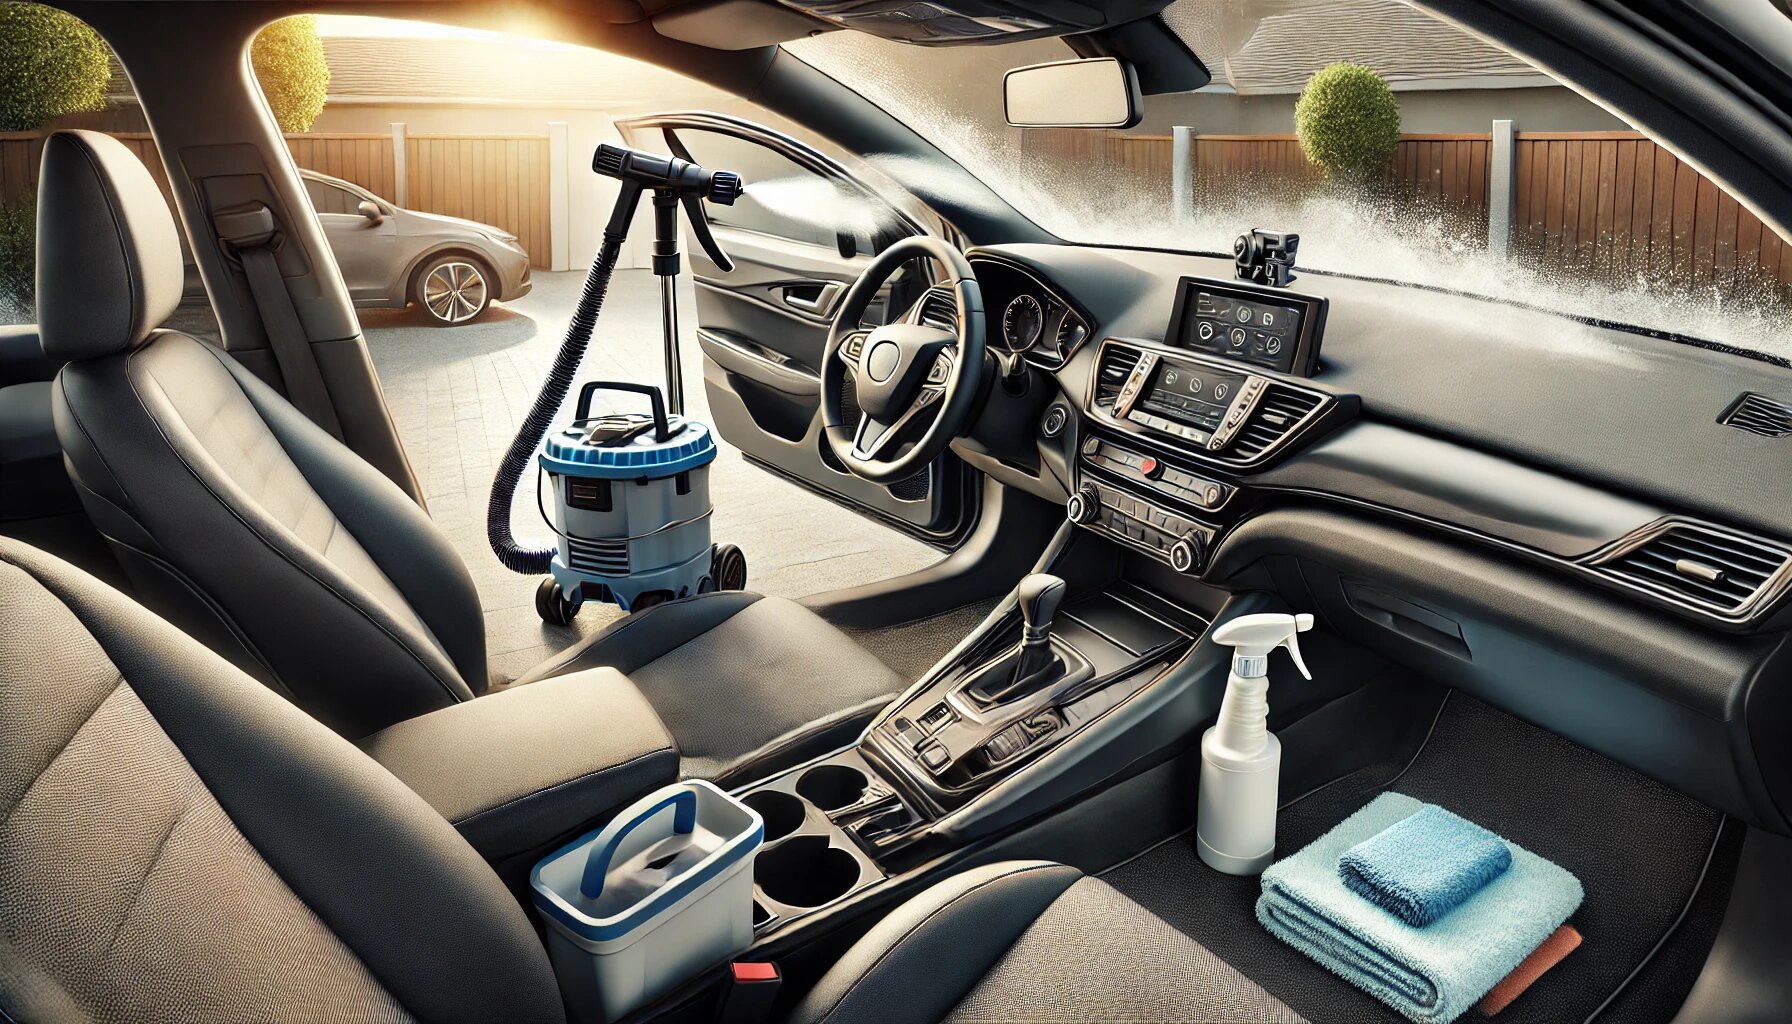
Floor mats protect your car’s interior from dirt, water, and wear. Installing them is simple and can be done in just a few minutes.
Step-by-Step Installation:
Tips: Always choose floor mats that match your vehicle’s interior and weather conditions.
A dash cam is essential for capturing footage of your drive and providing evidence in the event of an accident. Installing a dash cam is easy and can be done in a few steps.
Step-by-Step Installation:
Tips: Ensure that the dash cam’s view is unobstructed, and check that the camera is properly aligned.
A car phone mount is an easy-to-install accessory that lets you safely use your phone for navigation while driving. Most phone mounts are simple to set up and require no tools.
Step-by-Step Installation:
Tips: Make sure the mount does not obstruct your view of the road, and test the stability before driving.
A rearview mirror camera is an advanced accessory that provides extra visibility while reversing. While more complex than simple accessories, installing a rearview mirror camera is still achievable for beginners.
Step-by-Step Installation:
Tips: If you are not comfortable with wiring, consider seeking professional installation for this accessory.
Installing car accessories yourself can be a rewarding experience, providing both convenience and cost savings. From seat covers to dash cams, many popular accessories can be easily installed with a bit of knowledge and the right tools. Follow this step-by-step guide to ensure your DIY installations are safe, efficient, and effective. With the right approach, you can enhance your car’s interior, performance, and safety without the need for professional help.


Lorem ipsum dolor sit amet, consectetur adipiscing elit, sed do eiusmod tempor incididunt ut labore et dolore magna aliqua.
 Same Day Delivery before 10 PM*
 +91 7070322422
 connect@carsmech.com
 Download App